The Ultimate Guide to Backyard Grilling
Summer BBQs thrive when the right grill meets the right plan. Match gas, charcoal, pellet, or electric units to your space and…
Summer BBQs thrive when the right grill meets the right plan. Match gas, charcoal, pellet, or electric units to your space and schedule. Each fuel shapes flavor and heat in a different way.
Gas grills bring quick ignition and steady control. Charcoal gives deep smoke and high sear. Pellet smokers blend wood-fired taste with digital ease, while electric models fit small patios with plug-and-play convenience.
Safe hosting means clear workflows: separate raw and cooked foods and hit USDA temps — poultry 165°F, ground meats 160°F, steaks and chops 145°F with a rest. Simple systems for prep, tools, and cleanup make the whole process enjoyable.
This short introduction sets the stage for a practical plan that helps you pick a grill, master temperatures, and craft memorable outdoor cooking sessions. Expect actionable checklists, timing tips, and flavor ideas that fit weeknight dinners and weekend gatherings alike.
Key Takeaways
- Choose a grill that fits space, budget, and lifestyle for the best results.
- Fuel type shapes flavor: gas for control, charcoal for smoke, pellets for wood notes.
- Follow safe cooking temps and separate raw and cooked items.
- Create a welcoming setup with lighting, seating, and a self-serve station.
- Use simple workflows and checklists to reduce stress and boost fun.
Choosing Your Grill: Charcoal, Gas, Pellet, or Electric for Outdoor Cooking
Different grills change the job: some demand hands-on tending, others offer set-it-and-forget-it ease. Pick a fuel that fits your schedule, space, and taste so cooking stays fun.
Charcoal Grills: Classic fire, high heat, and deep smoky flavor
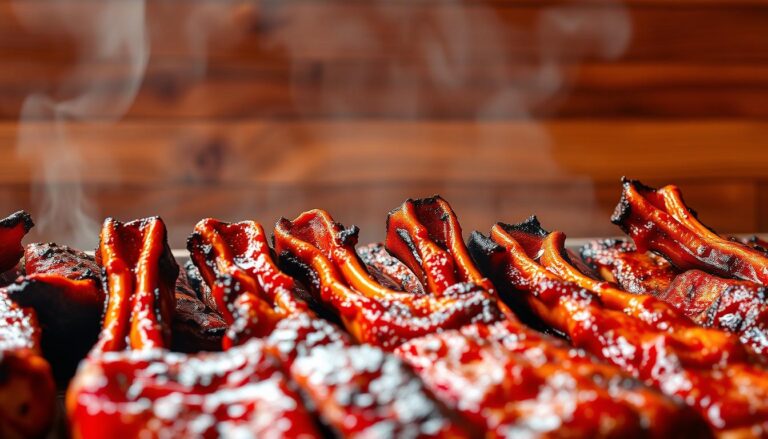
Charcoal grills deliver intense searing heat and the richest smoky flavor. You can create hot and cool zones by arranging coals, but expect longer start-up and ash cleanup.
Gas Grills: Convenience, fast start-up, and precise temperature control
Gas grills light with a knob and give reliable heat control, perfect for an outdoor kitchen or fast weeknight meals. They clean up easily and scale well for larger groups.
Pellet Grills: Wood-fired flavor with digital heat control and versatility
Pellet grills blend wood-fired character with digital temperature control. They feed pellets automatically and hold steady temps, but need power and pellet supply nearby.
Electric Grills: Compact solutions for small spaces and consistent results
Electric models plug in, heat quickly, and fit tight patios or balconies where open flame is limited. They let you grill where other fuels aren’t allowed.
- Space: gas and pellet units usually need more room; many charcoal kettles and electrics save space.
- Flavor vs. fuss: charcoal for pronounced smoke, pellet for nuanced wood notes, gas for clean, versatile cooking.
- Maintenance: gas is tidy and predictable; charcoal is cheap per cook but messier; pellet requires pellets and power.
Consider how often you cook, your backyard layout, and whether you want hands-on fire or steady convenience when you choose a grill.
Temperature, Time, and Heat Control Mastery
Mastering heat management is the fast track to consistent, crave-worthy results on the grill.
Creating heat zones for searing, roasting, and finishing foods
Set up two- or three-zone fire: a direct-hot zone for searing, a medium zone for finishing, and an indirect area for roasting.
On charcoal, bank coals on one side. For gas, light one side and leave the other off. Move foods between zones to mark, cook through, and hold at precise temperature.
Low-and-slow vs. hot-and-fast: dialing in precise temperature
Choose 225–250°F for brisket or pork shoulder; aim 450–500°F for steaks and burgers. Use an instant-read thermometer and steady heat control to reduce guesswork.
Resting meat for juicy, flavorful results
Small cuts rest 5–10 minutes; large roasts or whole birds rest 15–20 minutes, loosely tented with foil. Carryover cooking finishes internal temps and locks in juices.
| Technique | Temp Range | When to Use |
|---|---|---|
| Sear-first then roast | 450–500°F sear, 300–350°F finish | Steaks, thicker chops |
| Reverse-sear | 225–275°F slow, then 500°F sear | Large steaks, roasts |
| Low-and-slow smoke | 225–250°F | Brisket, pork shoulder |
| Indirect roasting | 300–375°F | Whole birds, vegetables |
Track temps, time ranges, and results in a simple log. Add a smoker box or a wood chunk for mild smoking while keeping target heat steady.
Flavor and Smoking Fundamentals
Match woods to foods: use hickory for robust smoke with ribs and pork, mesquite for intense, earthy notes that stand up to beef, and applewood for a gentle sweetness with poultry, fish, and vegetables.
Choosing chips, chunks, and soak time
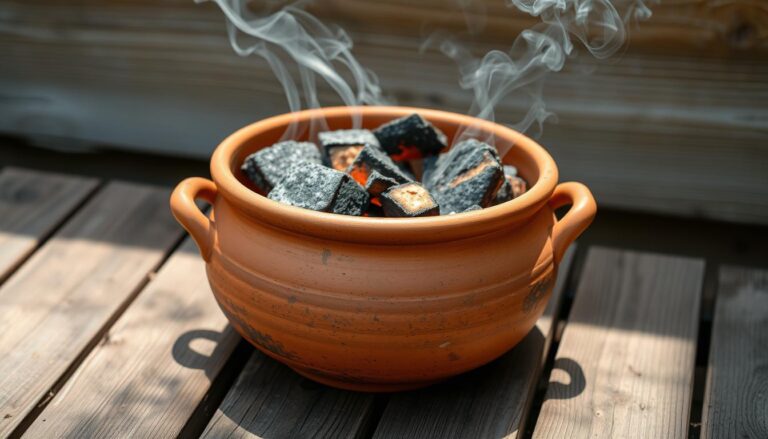
Soak thin chips about 30 minutes to slow their burn and release aroma gradually. Use chunks for longer cooks so the fire keeps giving steady smoke.
Layering smoke on different grills
On charcoal, tuck chips or chunks into the hot coals so smoke rolls steadily over food.
On gas, place chips in a smoker box or foil pouch and set it near the burners to build controlled smoke.
Pellet grills feed wood automatically, which makes holding a steady smoky flavor easier during long roasting or low-and-slow cooks.
- Use short smoke bursts for delicate items and longer runs for large cuts.
- Try blends like applewood + hickory for balanced sweetness and backbone.
- Place chips so smoke rolls thin and blue; avoid thick white smoke, which tastes bitter.
Tip: Start smoke early when surfaces are moist—during initial roasting phases—so the food absorbs aromatic compounds. Ventilate the grill and keep a steady fire for clean, pleasant flavor.
Tools, Equipment, and Cleanup for a Better Grilling Experience
Preparation and the right gear keep outdoor meals smooth from prep to plate. Pack beyond tongs and a spatula so cooking stays safe and fast. A compact plan saves time in the kitchen and at the grill.
Essential handheld items
Must-have tools include long tongs, a stiff spatula, a reliable instant-read thermometer, heat-resistant mitts, and a durable apron. These items protect you and keep turning, flipping, and checking temps easy.
Prep and transport
Bring a butcher block or rugged prep board plus sturdy trays to shuttle ingredients without cross-contamination. Use leak-proof, labeled containers for marinades, rubs, and sauces so everything stays organized between kitchen and cook line.
- Separate coolers for raw and cooked items with ample ice keep foods under 40°F.
- Pack backup fire-start items and a small tool roll to keep the area tidy around grills.
Streamlined cleanup
Make cleanup painless with heavy-duty foil for lining grates and zones, plenty of paper towels, and clear waste and recycling bags. Collapsible bins or caddies save space and speed teardown after dining.
Pro tip: Run a quick preflight checklist so nothing from ingredients to utensils goes missing. A little setup work means a smoother, safer grilling experience.
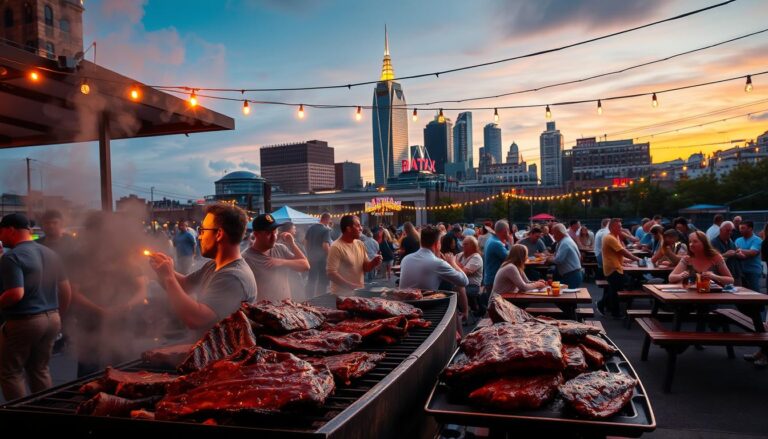
Menu Planning and Hosting Outdoors
A tight, crowd-friendly menu makes hosting less work and more fun.
Build menus around reliable crowd-pleasers: smash burgers, well-seared steaks, grilled shrimp, and plenty of vegetables. These dishes scale easily and give guests clear choices.
Smart menus and prep
Choose foods that travel and hold up if you’re tailgating or dining at a park. Prep proteins ahead—portion patties, skewer shrimp, and marinate chicken—so ingredients go straight from cooler to grill.
Dress delicate salads at the last minute. Sturdy greens like kale or cabbage can be dressed earlier and still taste great.
Safety, timing, and service
Map cook order by thickness and temperature. Start long cooks first, finish fast items last, and use an instant-read thermometer for accuracy.
Follow safe temps: poultry 165°F, ground meats 160°F, steaks/chops 145°F plus resting. This keeps every bite safe and tasty for guests of all ages.
- Offer a few grill-forward sides like corn or asparagus and a cold make-ahead salad.
- Keep tools and equipment at the station for quick flipping and temp checks.
- Elevate the dining experience with warmed buns, a toppings bar, and a chilled beverage tub.
The Ultimate Guide to Backyard Grilling: Your Step-by-Step Path to Better Results
Begin with a short site scan: measure clearance, check airflow, and map how guests and cooks will move.
Quick-start checklist gets you cooking faster and with less stress.
Quick-start checklist: space, fuel, tools, ingredients, and temperature control
Space audit: confirm clearances, ventilation, and traffic flow so the grill and prep areas work safely.
- Confirm fuel: full propane, dry charcoal, enough pellets, or a working outlet for electric/pellet units.
- Lay out tools and equipment: tongs, spatula, thermometer, mitts, trays; stage ingredients in order of use.
- Pre-build heat zones and check precise temperature targets: 225–250°F for low cooks, 450–500°F for searing.
- Label coolers and containers; keep raw and cooked items separate and assign a small waste station.
- Set time checkpoints for seasoning, sear, indirect finish, and resting (5–20 minutes by size).
“Preparation wins the day: a few checks before you light the fire save time and keep food safe.”
| Item | Check | Why It Matters |
|---|---|---|
| Fuel | Propane full / Charcoal dry / Pellets stocked | Prevents stalls mid-cook |
| Thermometer | Instant-read staged | Ensures precise temperature and doneness |
| Zones | Sear and indirect set | Gives control for multi-stage cooks |
| Backup | Thinner cuts or pre-seared options | Adapts for weather or timing shifts |
Final pass: confirm sauces, buns, sides, and serving pieces are staged so service moves smoothly from grill to table.
Conclusion
When your grill fits your space and habits, meals get simpler and flavor becomes easier to control. Pick charcoal for bold smoke, gas for steady control, pellet for hands-off wood notes, or electric for compact consistency so your outdoor cooking matches the dishes you want to serve.
Keep fundamentals first: manage heat zones, hit safe internal temperature targets, and give meats the right rest time. Track time and temps, and use a quick post-cook note in the kitchen or on your phone about what worked and what equipment to upgrade next.
Right-size your setup for the space and workflow so grills offer reliability without crowding the backyard. Celebrate cooking over fire and share those flavorful dishes during casual dinners and weekend adventures.
Please put these steps into action on your next cook — one small change at a time will improve your outdoor cooking experience and the foods you serve.