Delicious Charcoal Grilled Ribs: The Ultimate Guide
Ready for real BBQ that prizes tenderness and smoky flavor? This guide walks you through a proven low-and-slow method that keeps heat…
Ready for real BBQ that prizes tenderness and smoky flavor? This guide walks you through a proven low-and-slow method that keeps heat steady and meat juicy. Learn a two-zone setup with coals and soaked wood on one side and a water pan on the other.
Expect clear targets for temperature and time, easy tricks for membrane removal, and simple steps for wrapping in foil to lock in juices. You’ll also see finishing options: a sticky sauce, a quick sear over direct heat, or slicing for a clean presentation.
Follow this friendly method and you’ll manage temperature, add charcoal without spikes, and read doneness cues so each rack pulls cleanly from the bone. Tips cover baby back ribs, realistic cooking windows, and smart storage so leftovers stay great.
Key Takeaways
- True BBQ is low-and-slow for tenderness and clean smoke flavor.
- Use a two-zone setup: coals and wood on one side, a water pan on the other.
- Aim near 275°F and rotate racks every 30 minutes for even heat.
- Remove the membrane and wrap in foil to seal juices after 1.5–2 hours.
- Finish with sauce layering or a brief char for texture and flavor.
- Store leftovers in the fridge up to 4 days or freeze up to 4 months.
What people mean by “how to cook ribs on a charcoal grill” right now
Quick answer: low-and-slow over a two‑zone fire for tender, juicy ribs.
Searchers want a simple, reliable plan. Most are after a clear setup that prevents flare-ups and keeps flavor balanced. A two‑zone arrangement — coals and wood on one side, meat over the cool side — is the fast path to success.
Charcoal excels at steady low heat, and vents give fine control. Baby back racks often finish in about two hours indirect, while spareribs need three to four hours. Gradual fuel additions avoid big temperature swings.
Sauce and smoke timing matter. Brush sauces late so sugars do not burn. Add hickory or fruit wood to the hot side for balanced smoke. If you have a dedicated smoker, great; if not, a kettle or side grill with a two‑zone layout can deliver competition‑worthy results.
- Two‑zone = hot side for fuel, cool side for gentle cooking.
- Keep temps steady, rotate racks, and wrap near the end if desired.
Charcoal grill setup: two‑zone fire, steady temperature, smoky flavor
Create a reliable two‑zone cook by concentrating the fuel on one side and using a foil water pan opposite. This gives you control over smoke and keeps meat moist during long hours. A Weber kettle or similar portable cooker works well for this layout.
Build heat and place a water pan
Remove the grates, pile quality charcoal and optional soaked wood chunks on one side, then put a foil pan filled with water on the other side.
Target temperature and management
Aim for 225–275°F and stabilize with vents. Open vents to raise heat and close slightly to bring it down. Add a few briquettes or lump pieces slowly so the fire holds steady without spikes.
When to add wood
Use hickory for bold smoke or fruit woods like apple for sweetness. Add wood early so the smoke runs clean and blue rather than thick and harsh.
- Tip: Keep coals clearly on one side; no coals under the water pan.
- Bank fuel at the start and have a chimney of lit coals ready for mid‑cook boosts.
Rib prep basics: baby back vs spare, membrane removal, binders and rubs
Prep sets the stage: choose the right cut, trim ragged bits, and remove the silver membrane so seasonings reach the meat.
Know your cuts: baby back ribs are smaller and leaner and finish faster, while spare or back ribs carry more connective tissue and need extra time.
Remove the membrane for better bite and seasoning penetration
Turn the rack bone-side up. Slip a butter knife under the last bone to loosen the membrane.
Grab the lifted edge and pull steadily; aim to remove it in one piece. This helps seasoning penetrate and improves final texture.
Binders and rubs: mustard, sweet-heat blends, and salt levels that build bark
Apply a thin layer of yellow mustard or oil as a binder so the rub sticks evenly.
Use a balanced sweet‑heat rub with salt, sugar, and spices. Pork handles bold flavors well — just avoid over-salting.
| Cut | Traits | Prep tip |
|---|---|---|
| Baby back | Lean, smaller, cooks faster | Trim edges; remove membrane; lighter rub |
| Back/spare ribs | Meaty, more connective tissue | Trim fat; remove membrane; bolder rub, longer cook |
| Common prep | Rack trimming & seasoning | Fridge rest after rub for better bark |
Trim for even thickness so tips don’t dry out. Let seasoned racks rest in the fridge when possible; this hydrates the rub and helps form a better bark.
How to cook ribs on a charcoal grill: step‑by‑step method
Place racks bone-side down over the cool zone and let low convection coax out tenderness. This indirect start prevents flare-ups and builds even heat under the lid.
Rotate every 30 minutes so the edges nearest the hot side get equal exposure. Lightly spritz dry edges with water or apple juice if the surface looks tight.
Decide on foil or no foil. A tight foil wrap with a butter bath and a splash of apple juice speeds tenderness in about 30 minutes. Leaving racks unwrapped preserves a thicker bark and firm bite.
- Return wrapped parcels seam-side up and let rest for about 30–60 minutes before checking.
- For sauced finishes, brush thin layers of sauce every 5 minutes so the glaze builds without burning.
- Add a brief direct char at the end for crisp edges if you prefer a touch of bite.
“Use an instant-read thermometer and aim for 190–203°F, then confirm with bone pullback and the bend test.”
Doneness cues matter: look for about a quarter-inch of bone pullback, a slight crack when the rack bends, and that internal temperature window. Keep the lid closed and add small amounts of lit coals or wood chunks as needed to hold temperature.
Time and temperature guides for different racks
Different racks ask for different patience — set your clock, then trust texture cues.
Baby back ribs: plan on about 2–3 hours indirect at 225–275°F. Add an optional 30–60 minute wrap if you want a softer bite and faster finish. Rest 10–30 minutes before slicing so juices settle.
Spareribs: expect roughly 3–4+ hours at the same steady temperature. These take longer because of extra connective tissue. Watch for bone pullback and a clean bend rather than only relying on the clock.
Beef ribs: richer meat needs more hours and lower heat patience. Go low and slow, season boldly, and aim for rendered fat and deep flavor. Internal tenderness often lines up with 190–203°F, though some cooks go higher.
- Add sauce in the last 30 minutes for a sticky finish and avoid burned sugars.
- If you use a smoker, the same time and temperature ranges apply; a two‑zone charcoal setup mimics those conditions well.
- Keep notes on total time, temperature swings, and wrap choices for future cooks.
| Cut | Typical hours | Target temperature |
|---|---|---|
| Baby back ribs | 2–3 hours (+30–60 min wrapped) | 225–275°F (finish 190–203°F) |
| Spareribs | 3–4+ hours | 225–275°F (finish 190–203°F) |
| Beef short ribs | 4+ hours | 225–275°F (render fat; flexible finish) |
“Focus on tenderness cues more than the clock; bone pullback and the bend test tell the real story.”
Pro tips, sides, and serving for Texas‑style results
Tidy fuel additions and patient rest will reward you with perfect bark and juicy meat. Add small amounts of fuel at a time and adjust vents slowly. Clean smoke means better flavor and no bitter aftertaste.
Keep the fire clean
Add fuel in short bursts so the temperature stays steady. Track surface temperature behavior when you open the lid; every minute the lid is open dumps heat and adds time to the cook.
Rest, slice, and serve
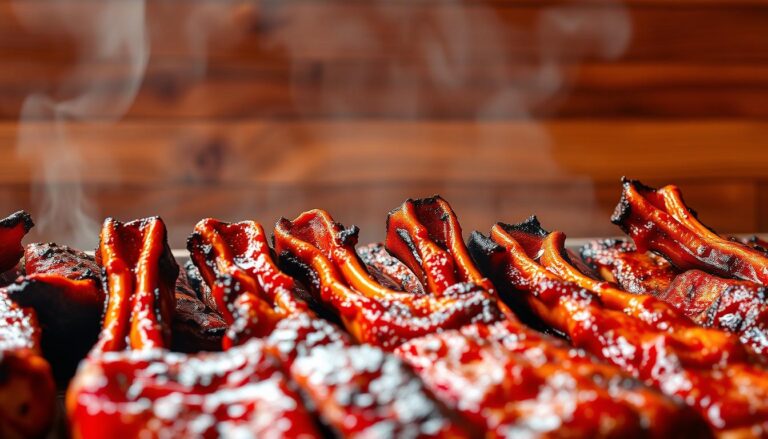
Let racks rest for at least 10 minutes so juices settle. Slice between bones and present the meat‑side up to show that glossy bark.
“Brush a final kiss of BBQ sauce right before serving if you want a glossy finish, or offer sauce on the side so smoke and rub shine.”
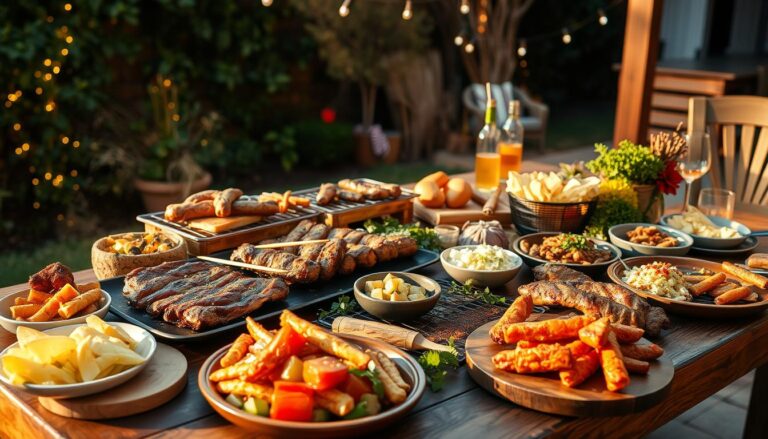
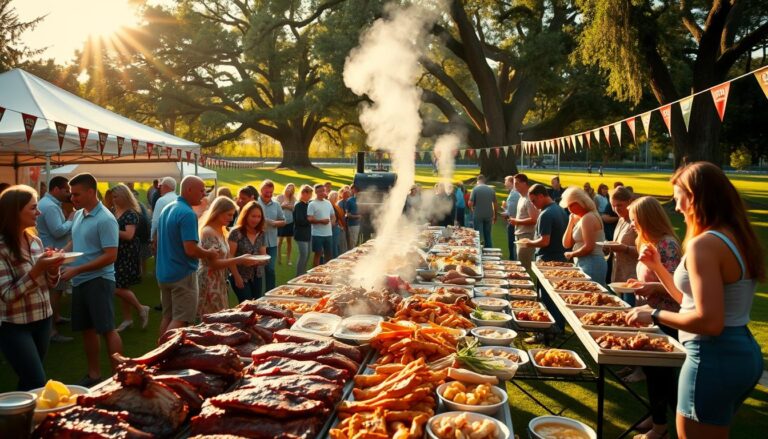
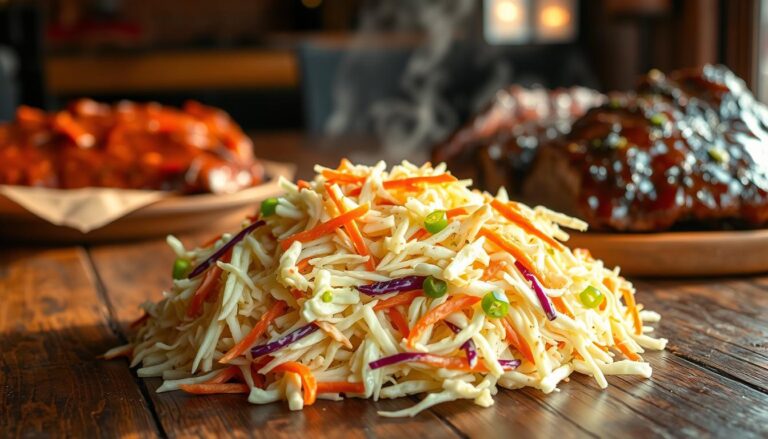
Classic pairings and plating
Build a plate with cornbread, baked beans, and crisp slaw. A cold beer or sparkling water cuts richness and cleanses the palate.
Leftovers and storage
Wrap tightly and refrigerate up to 4 days or freeze up to 4 months. When reheating, a light extra glaze revives shine and moisture. If frozen, add extra glaze after thawing for best results.
- Quick tip: If you glazed during the cook, give the racks a short few minutes back over heat to tack the sauce before slicing.
- Lean into a Texas approach: clean smoke, balanced seasoning, and a confident slice that celebrates the meat.
Conclusion
Keep the lid closed, tend the fire in small steps, and let texture cues—not the clock—decide when you slice.
The proven method is a two‑zone charcoal bed with a water pan. Hold steady temperature in the 190–203°F window and watch for bone pullback and the bend test. Use fruit or hickory wood chunks for clean smoke and rotate the rack so edges cook evenly.
Wrap in foil when you want faster tenderness and softer bark, or hold off and brush sauce late for a glossy finish. Store leftovers chilled up to 4 days or freeze up to 4 months. With patience and small fuel tweaks, backyard bbq on a charcoal grill can match a dedicated smoker.